A radiator that has gone cold at the top, is taking far too long to warm up, or has stopped heating altogether can be frustrating, especially in a busy home, rental property or workplace. Knowing how to repressurise a radiator system can help restore normal heating pressure, but it is worth doing carefully. Adding too much water, using the wrong valve or ignoring repeated pressure loss can create a bigger problem than the one you started with.
A quick top-up is often straightforward on a sealed heating system. However, if the pressure keeps dropping, there may be a leak, a faulty radiator valve or another issue that needs attention before water damage or heating disruption develops.
First, check whether the pressure is actually low
Radiators are part of one connected heating system, so you do not repressurise a single radiator on its own. Instead, you restore pressure to the system through the filling arrangement connected to the heating controls.
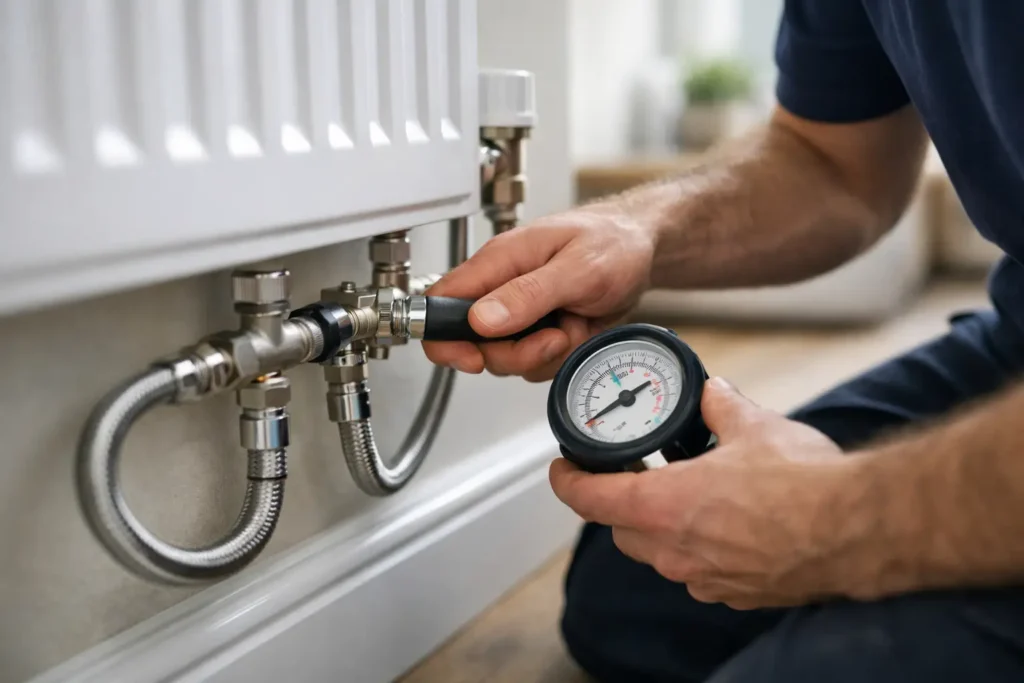
Start by finding the pressure gauge or digital pressure display. It is usually located on or close to the heating appliance. When the system is cold, many systems operate at around 1 to 1.5 bar, although the correct figure can vary by manufacturer and installation. Check the user instructions if you have them, particularly if a label shows a recommended pressure range.
If the reading is below 1 bar, low pressure may be contributing to poor radiator performance. A very low reading, such as close to zero, is more likely to indicate that the system has lost a noticeable amount of water and should not simply be ignored after topping up.
Do not judge the pressure when the radiators are fully hot unless you know the normal readings for your system. Pressure naturally rises as water heats up. The most useful check is when everything has cooled down.
How to repressurise a radiator system step by step
Before you begin, turn the heating off and allow the system to cool. Working around hot pipework or hot radiators is unnecessary and increases the chance of scalding. Put an old towel beneath the filling point in case a small amount of water drips out.
Find the filling loop or filling key
Many sealed systems have a flexible silver braided hose beneath the heating controls. This is commonly called a filling loop. It may have one or two small valves, often with black, blue or grey handles. Some systems use a built-in filling key and lever instead, while others have a clearly marked filling link.
Only use the filling arrangement intended for your system. If you cannot identify it with confidence, stop there. Turning random valves under the sink, near pipework or beneath the heating controls can cause a leak or interfere with the system.
Add water slowly while watching the gauge
Open the filling valve or valves gradually. You may hear water moving through the pipework. Keep one eye on the pressure gauge throughout and do not walk away while the system is filling.
Bring the pressure up slowly to the recommended cold level. For many homes, this will be around 1 to 1.5 bar, but the correct target is the one stated for your own system. It is better to stop slightly short and recheck than to overfill it.
Once the required pressure is reached, close both valves firmly. If your system uses a filling key, return it to the correct position or remove it as directed by the manufacturer. Wipe away any drips and check that the pressure holds steady for a few minutes.
Switch the heating back on and check the radiators
Turn the heating on after the filling valves are closed. As the radiators warm, listen for unusual sounds and check that all rooms are heating reasonably evenly. A radiator that is cold at the top may still contain trapped air and may need bleeding.
If you bleed a radiator, pressure can fall again because a little water leaves the system with the air. Let the system cool, check the gauge once more and top up carefully if necessary. Do not keep repeatedly filling and bleeding without finding out why the pressure is dropping.
What to do if you have overpressurised the system
It is easy to add too much water if the filling valves are opened too far or left open for too long. If the pressure is only slightly above the recommended cold level, do not panic. Allow the system to cool fully and recheck it before doing anything else.
If the pressure is clearly too high, avoid trying to force water out through unfamiliar valves. In some cases, carefully bleeding a small amount of water from a radiator can reduce pressure, but this should only be done when the radiator is cool and you are comfortable using a radiator key. Keep a cloth and container ready, as dirty heating water can stain carpets, walls and flooring.
A system that reaches a high pressure when hot, or discharges water outside through an overflow pipe, needs professional assessment. Repeated overpressure is not a problem to solve by continually letting water out.
Why radiator pressure keeps falling
A one-off pressure drop after bleeding radiators can be normal. Pressure that falls every few days, every week or after each heating cycle is different. It usually means water is escaping somewhere or the system is not maintaining pressure as it should.
Check visible areas first. Look around radiator valves, pipe joints, towel rails and the floor beneath radiators for damp patches, staining or a white or greenish residue. Small leaks can evaporate before they form a puddle, especially around warm pipework, so look closely at skirting boards, carpets and cupboard bases too.
In rented homes, a small leak can quickly become a tenant complaint, damage a ceiling below or lead to mould and decorating costs. In cafés, offices, shops and other occupied premises, a poorly performing heating system can disrupt staff, customers and daily trading. Acting early is usually less disruptive and less expensive than waiting for a visible leak.
Pressure loss can also follow work on radiators, such as replacing a valve or bleeding several radiators. In that situation, a single careful repressurisation may be all that is needed. If the gauge drops again afterwards, arrange for the system to be checked rather than repeatedly adding water.
When not to repressurise it yourself
Stop and get help if you cannot find a clear filling point, the gauge is at zero, water is visibly leaking, or you notice water running from pipework or through a ceiling. The same applies if a radiator valve is seized, a radiator is badly corroded, or the filling loop itself drips when used.
You should also avoid repeatedly repressurising a system that loses pressure. Fresh water introduces oxygen into the heating circuit, which can contribute to internal corrosion over time. More importantly, regular topping up can hide a leak until it becomes large enough to cause damage.
If only one radiator is cold while the rest are working, the problem may not be pressure at all. It could be trapped air, a stuck valve, sludge in the radiator or poor system balance. Repressurising will not fix every cold radiator, and guessing can waste time when the property needs a practical repair.
Keep an eye on pressure after topping up
After repressurising, make a note of the cold pressure and check it again over the next few days. You do not need to watch the gauge constantly, but a quick check can show whether the pressure is stable. If it remains steady and the radiators heat properly, the issue may have been resolved.
If it falls again, or you spot dampness around a radiator, pipe or valve, arrange a repair before the problem spreads. A tidy, early repair can protect flooring, walls, furnishings and the comfort of everyone using the property.
For radiator leaks, faulty valves, cold radiators or plumbing problems across Hull and the surrounding area, contact HJZ Plumbing directly on 01482 236483. Getting the cause checked early is the best way to keep a small pressure issue from becoming a costly disruption.