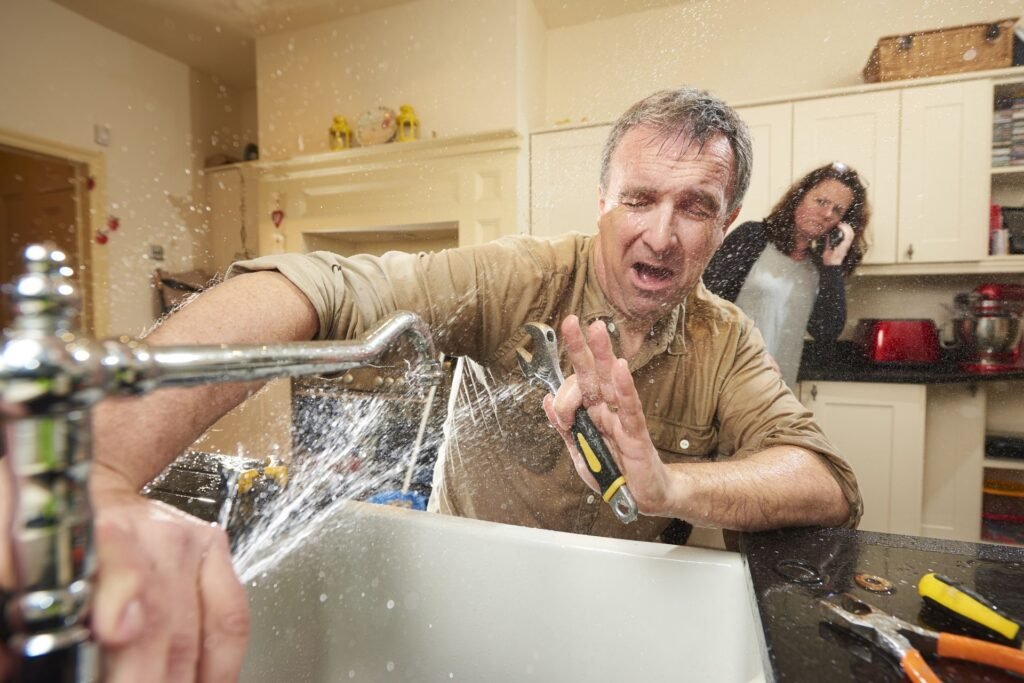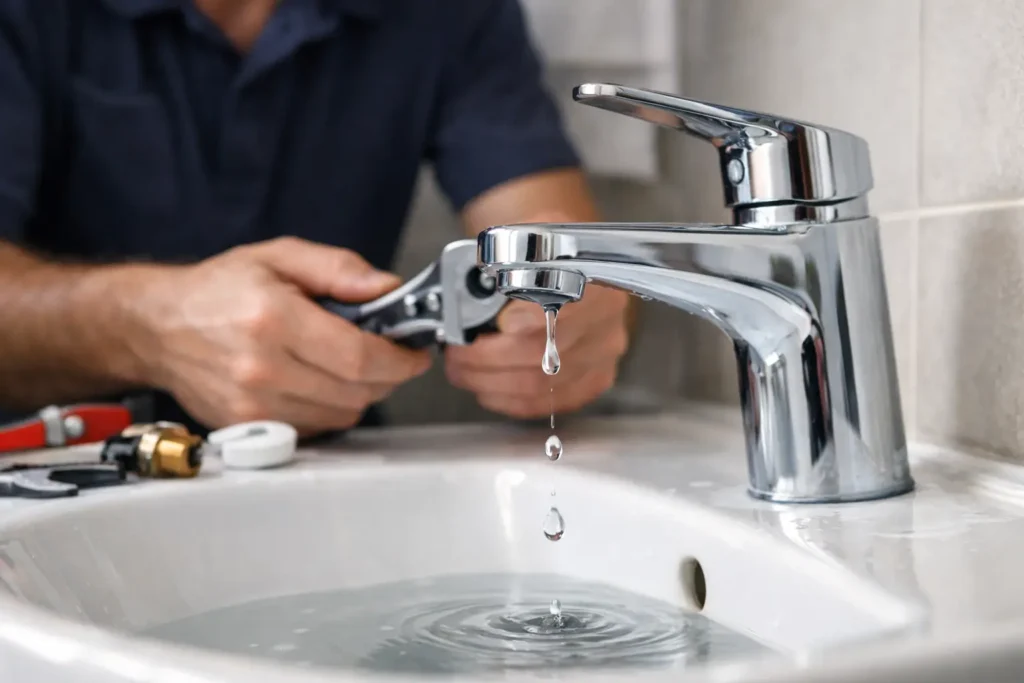
A tap that drips once every few seconds can seem like a minor annoyance, until the sound keeps you awake, water marks appear around the sink, or the leak becomes a steady trickle. The best fixes for dripping taps depend on where the water is escaping and the type of tap you have. A quick repair can often solve it, but fitting the wrong part or forcing worn components can turn a simple job into a larger leak.
For homeowners, landlords and busy commercial premises, dealing with the problem early is usually the sensible option. A dripping kitchen tap wastes water, while a leak around the base of a bathroom tap can damage worktops, units and flooring before it is noticed.
Find Where the Tap Is Actually Leaking
Before choosing a repair, establish whether water is dripping from the spout, seeping from the handle, or appearing at the base of the tap. These faults have different causes, and treating them as the same problem is one reason some DIY repairs do not last.
Water dripping from the spout when the tap is fully off usually means the internal seal is no longer closing properly. On a traditional tap, this may be a worn washer. On a modern quarter-turn tap, it is more likely to be a faulty ceramic cartridge. If water appears around the handle when the tap is in use, the issue could be a worn O-ring, loose gland nut or cartridge seal.
A puddle at the bottom of the tap needs particular attention. It may be caused by a damaged seal at the base, but it could also be water running down from the handle or a leak from the flexible pipes beneath the sink. Dry the area first, then run the tap briefly and watch where the first moisture appears. This avoids replacing parts that are not at fault.
Best Fixes for Dripping Taps by Tap Type
Replace the washer on a traditional tap
Older compression taps normally need several turns to open and close. Inside, a rubber washer presses against the valve seat to stop the flow. Over time, the washer hardens, splits or becomes misshapen, allowing water to pass through even when the tap is tightly closed.
Replacing a washer can be an effective, low-cost repair if the valve seat is still smooth and the tap body is in good condition. Turn off the water supply first, either using the isolation valves beneath the sink or the main stopcock if there are no local valves. Open the tap to release any remaining pressure, then remove the handle and carefully dismantle the headgear.
Take the old washer with you when buying a replacement if possible. Similar-looking washers can vary slightly in size, and an incorrect fit may still leak. It is also worth inspecting the valve seat. A rough, pitted or corroded seat can wear out a new washer quickly, meaning the drip returns soon afterwards.
Change a ceramic cartridge on a mixer tap
Many modern basin and kitchen mixer taps use ceramic cartridges rather than rubber washers. These taps commonly operate with a short lever movement or a quarter turn. The cartridge contains two ceramic discs that align to control the flow of water. When they wear, crack or collect debris, the tap may drip from the spout or become stiff to operate.
The practical fix is usually a like-for-like cartridge replacement. This sounds straightforward, but cartridges are not universal. Their height, diameter, spline pattern and waterway arrangement can differ between manufacturers and models. Removing the existing cartridge and matching it accurately is essential.
If the tap is old, heavily scaled or seized, attempting to remove the cartridge can damage the body of the tap or the pipework beneath. In that situation, it may be more cost-effective to replace the tap rather than spend time chasing a part that does not fit.
Renew O-rings and seals at the base
A tap that leaks around its base often needs new O-rings. These small rubber seals allow a swivel spout to move while keeping water inside the tap body. Limescale, regular movement and age can all cause them to deteriorate.
The tap will normally need to be isolated and partly dismantled to access the seals. Clean away scale and old grease before fitting new O-rings, then use an appropriate silicone-based plumber’s grease sparingly. This helps the spout move smoothly without pinching the new seals.
Do not rely on sealant around the outside of the base as a permanent answer. It may hide the leak for a short time, but water can still find its way beneath the tap and into the worktop or unit.
Avoid the Fixes That Create Bigger Problems
Over-tightening is one of the most common mistakes with a dripping tap. It might slow the drip temporarily, but it puts extra pressure on the washer, cartridge or valve seat. It can also make the handle harder to turn and cause a component to fail completely.
Another risk is using excessive force on chrome fittings. Decorative covers, handles and retaining nuts can be scratched, cracked or distorted easily. Wrap a cloth around visible surfaces before using tools, and use steady pressure rather than trying to force a seized part free.
It is also wise to check the isolation valves before starting. A valve that will not turn, leaks when operated or fails to stop the water can quickly complicate a basic tap repair. In occupied rental properties, cafés, offices and other commercial settings, an unexpected water shut-off can cause more disruption than the drip itself.
When Replacing the Whole Tap Makes More Sense
A repair is usually worthwhile when the tap is in otherwise good condition and the correct spare part is available. However, replacement may be the better long-term option if the tap is badly corroded, the cartridge is obsolete, the valve seat is damaged, or several leaks have developed around the same fitting.
Kitchen taps in particular work hard. Pull-out spray heads, swivel spouts and mixer controls have more moving parts, so repeated faults can be a sign that the fitting has reached the end of its useful life. A new quality tap can improve day-to-day use, but it must be installed securely with sound pipe connections beneath the sink.
For landlords and property managers, replacing a repeatedly failing tap can also reduce tenant disruption and repeat maintenance visits. The cheapest immediate repair is not always the best value if it only delays another callout by a few weeks.
Do Not Ignore Water Around Cabinets and Worktops
The visible drip is not always the most expensive part of the problem. Water travelling down the back of a kitchen cupboard can swell chipboard, damage flooring and create damp conditions that are difficult to dry properly. Around bathroom basins, slow leaks can stain sealant and affect vanity units or boxed-in pipework.
Check beneath the sink for damp patches, warped shelves, corrosion on valves and flexible hoses, or a musty smell. Put a dry sheet of kitchen roll around joints and beneath the tap connections to identify small leaks. If the paper becomes wet, the fault needs attention even if the tap itself appears to be working normally.
If you cannot isolate the water, the leak is worsening, or you are unsure which part has failed, it is safer to arrange a professional repair. A tidy, correctly completed job protects the room as well as stopping the drip.
A dripping tap rarely fixes itself, and early action can prevent a small inconvenience from becoming damaged units, wasted water or disruption for tenants, staff and customers. For reliable tap repairs across Hull, Beverley and the surrounding East Yorkshire area, contact HJZ Plumbing directly on 01482 236483 or through www.hjzplumbing.com.