A bathroom leak rarely starts as a dramatic burst pipe. More often, it begins with a small drip beneath a basin, a loose shower seal, a toilet that keeps quietly refilling, or water finding its way through tired grout. The best bathroom leak prevention methods focus on spotting those early warning signs and dealing with them before they damage flooring, ceilings, walls or the property below.
For homeowners, landlords and commercial premises, prevention is usually far less disruptive than an emergency repair. A few sensible checks can protect tenants, customers, staff and the parts of a building that are expensive to put right.
1. Check around toilets for small but persistent leaks
Toilets are one of the most common sources of hidden bathroom water damage. Look for moisture around the base of the pan, staining on flooring, a musty smell or vinyl that feels soft or begins to lift. These can indicate a failed pan connector, a worn seal or a leak from a fitting behind the toilet.
Also listen for a toilet that refills when nobody has used it. A faulty fill valve or flush valve can waste a surprising amount of water and may eventually cause an overflow issue. A little food colouring added to the cistern can help reveal whether water is passing into the bowl without flushing. If the colour appears in the bowl after 15 to 30 minutes, the flush valve may need attention.
Do not ignore a toilet that rocks when sat on. Movement can strain seals and pipe connections over time. It is a straightforward issue to investigate early, but a leak below a toilet can damage the floor structure before it becomes visible.
2. Keep shower seals, grout and silicone in good condition
A shower can send a large volume of water against walls, screens and trays every day. When silicone becomes cracked, discoloured, loose or mouldy, water can slip behind it and soak into surrounding materials. Damaged grout between tiles can create the same problem.
Check the seal where the shower tray meets the wall, around the shower screen and at the corners of tiled areas. Pay particular attention to any shower enclosure that has been fitted for several years. Silicone does not last forever, especially where there is regular movement, poor ventilation or strong cleaning products.
Resealing a shower is not simply a case of applying new silicone over old material. The failed sealant needs removing properly, the surfaces must be dry and clean, and the new seal needs time to cure before the shower is used. If water has already travelled behind tiles or beneath a tray, the cause should be identified rather than covered over.
Watch for movement in the shower tray
A tray that flexes underfoot can break the seal at the wall edge. It may be caused by inadequate support beneath the tray, poor installation or gradual movement in the floor. If the silicone keeps splitting in the same place, the problem may not be the silicone itself. A plumber can assess whether the tray, waste connection or surrounding installation needs repair.
3. Test waste pipes and traps beneath basins
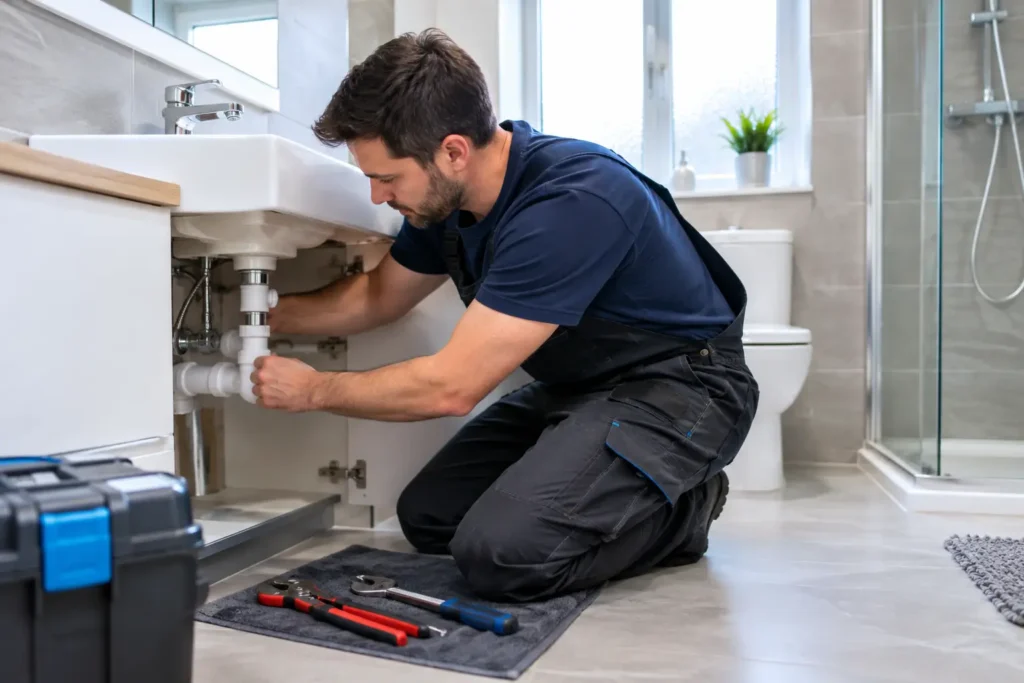
The pipework beneath a basin is easy to overlook because it is tucked away in a vanity unit or behind a pedestal. Yet small leaks from traps, compression fittings and flexible hoses can quietly ruin a cupboard base or seep into walls.
Every few weeks, run both hot and cold water into the basin, then check underneath with a dry piece of kitchen roll. Feel around connections rather than relying only on what you can see. Water can track along a pipe before dripping elsewhere.
Avoid overtightening plastic waste fittings. A connection that is too loose can leak, but one tightened excessively can crack or distort. If a trap is leaking repeatedly, smells unpleasant or blocks often, it may need cleaning, adjustment or replacement rather than another temporary fix.
4. Deal with slow drainage before it becomes an overflow
Slow-draining showers, baths and basins are not only inconvenient. They can allow water to build up and overflow onto bathroom floors, particularly in busy family homes, rental properties, hotels and staff facilities. Hair, soap residue and limescale are common causes, but recurring blockages can also point to an issue further along the waste pipe.
Use a suitable plughole cover to catch hair and clear it regularly. Do not rely heavily on harsh chemical drain cleaners. They can be unpleasant to handle, may damage some pipework and often fail to remove the underlying build-up. If the same fitting blocks again soon after being cleared, professional drain cleaning is usually the more sensible option.
Keep an eye on gurgling noises, unpleasant smells and water backing up in another fitting when a bath or basin is emptied. These signs can mean the drainage system needs more than a quick clean at the plughole.
5. Inspect taps, shower valves and exposed pipework
A dripping tap is not always just an annoyance. It can indicate a worn washer, cartridge or valve, while moisture around the tap base may mean water is getting beneath the fitting. Check for dampness inside the basin unit and look at the flexible connections beneath the tap for corrosion, bulging or a fine spray of water.
Shower controls deserve the same attention. A shower that drips after being turned off may have a worn cartridge. Water leaking from behind a shower valve or concealed control can be harder to spot, so investigate damp patches on the adjoining wall, loose tiles, peeling paint or a persistent musty smell promptly.
If you have exposed pipework, inspect it occasionally for green staining, corrosion or droplets around joints. In colder spells, make sure pipework in unheated cupboards, extensions or outside-facing walls is protected from freezing. Frozen water expands and can split a pipe, often becoming apparent only once it thaws.
6. Use bathroom ventilation properly
Condensation is not a plumbing leak, but it can look similar and still cause real damage. Regular moisture on walls, ceilings, windows and cold pipework encourages mould, affects finishes and makes it harder to identify a genuine leak.
Run the extractor fan during showers and baths, and leave it on afterwards if it has an overrun setting. Open a window when practical and wipe down heavy condensation. If the fan is noisy, ineffective or not working, have it checked. In a bathroom with poor ventilation, even sound sealant and fittings will have a harder life.
7. Know where the stop tap is and keep it accessible
One of the most useful bathroom leak prevention methods is being able to limit damage quickly when something fails. Every responsible occupant should know where the internal stop tap is, how to turn it off and whether it works. It is often located beneath the kitchen sink, but locations vary between properties.
Do not pack the area so tightly that the valve cannot be reached in an emergency. Test it carefully from time to time, particularly in rental or commercial properties where staff or occupants may change. If the stop tap is seized, difficult to access or does not fully shut off the water, arrange for it to be repaired or replaced before a leak forces the issue.
For landlords and property managers, a simple handover note showing the stop tap location can prevent a minor leak becoming a major claim while someone searches for help.
8. Act on stains, smells and changes straight away
The biggest prevention mistake is waiting for visible water. By the time a ceiling stain appears below a bathroom, the leak may have been present for some time. Look out for peeling paint, swollen skirting boards, loose flooring, cracked tiles, mould returning in one area, unexplained smells and an increase in water use.
A water meter can sometimes help identify hidden leaks. Turn off all taps and appliances that use water, then check whether the meter continues to move. This does not pinpoint the fault, but it is a useful reason to investigate further.
In flats, rental homes and occupied commercial premises, report concerns early. Delaying a repair because the leak seems small can lead to damaged stock, unsafe floors, disruption for tenants or guests, and difficult conversations with neighbouring properties.
When to call a plumber
Some basic checks are sensible for any property owner, but repeated leaks, damp around concealed pipework, failed shower seals, toilet movement and drainage problems need a proper assessment. The right repair depends on the cause. Replacing a seal may be enough in one bathroom, while another may need a leaking waste connection, damaged pipe or shower tray issue resolved first.
If you have noticed water where it should not be, do not wait for it to become an emergency. For clear advice and tidy, practical plumbing repairs across Hull and the surrounding East Yorkshire area, contact HJZ Plumbing on 01482 236483.