A tap that drips once every few seconds can be surprisingly disruptive. The sound soon becomes irritating, but the bigger concern is the wasted water and the chance that a small fault develops into damage beneath the basin or sink. Knowing how to fix a dripping tap can save water and prevent a minor repair becoming an urgent callout – provided the tap is isolated safely and the correct part is fitted.
Most dripping taps are repairable. The key is identifying the type of tap, finding where the water is escaping, and not forcing parts that have become seized with age or limescale.
Why a dripping tap should not be ignored
A steady drip may look harmless, particularly if it falls neatly into the basin. Over days and weeks, however, it can waste a significant amount of water. It can also leave staining around the plughole, encourage limescale build-up and create a constant source of moisture around kitchen units, vanity cabinets and worktops.
For landlords, letting agents and commercial premises, a reported dripping tap also deserves a prompt response. A tap problem can be the first sign of a worn valve, a loose fitting or a failing connection underneath. In a café, hotel, office or school, it can affect hygiene standards and cause unnecessary disruption in a busy washroom or kitchen.
The good news is that a drip from the spout is usually caused by a small internal part rather than a need to replace the entire tap. A drip from the base, handles or pipework is different and may need a more careful repair.
Before you fix a dripping tap
Start by working out exactly where the water is coming from. If it drips from the end of the spout when the tap is turned off, the internal seal is not closing properly. If water appears around the handle when the tap is running, the gland, O-ring or cartridge may be worn. If the cupboard below the sink is damp, do not assume the tap itself is the only issue – check the flexible hoses, waste pipe and isolation valves too.
Before removing anything, turn off the water supply to that tap. Many kitchen and bathroom taps have small isolation valves on the pipes below, operated with a flat-head screwdriver. Turn the slot a quarter turn so it sits across the direction of the pipe. If there are no isolation valves, turn off the main stopcock, usually found under the kitchen sink or near where the water supply enters the property.
Open the tap afterwards to release any remaining water and confirm that the supply is off. Put the plug in the basin or sink before starting. Screws, caps and small washers are very easy to lose down a waste pipe.
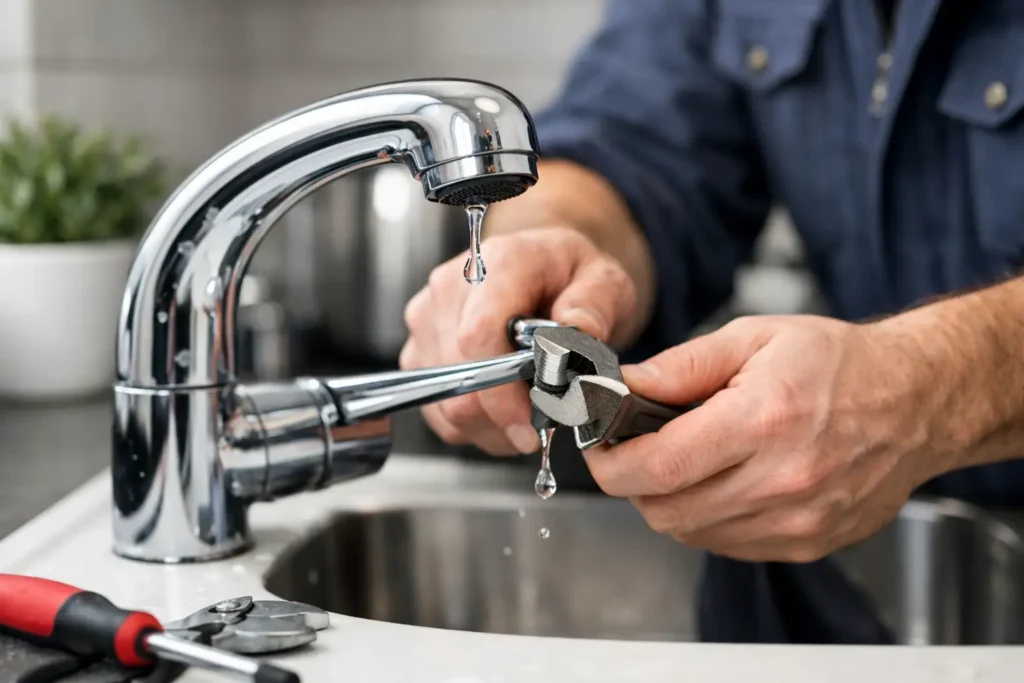
You will usually need an adjustable spanner, a screwdriver, a cloth to protect chrome surfaces and the correct replacement washer, valve insert or cartridge. The last item matters most. Tap components are not one-size-fits-all, so take the old part with you when buying a replacement where possible.
How to fix a dripping tap by tap type
The repair depends on the tap mechanism. Traditional taps with separate hot and cold handles usually use a rubber washer. Modern lever taps commonly use a ceramic cartridge. Mixer taps can use either a cartridge or separate valve inserts, depending on their design.
Traditional pillar taps and washer taps
On a traditional tap, gently prise off the decorative cap on top of the handle. This often reveals a retaining screw. Remove the screw, lift off the handle and use a spanner to undo the valve headwork beneath it.
At the bottom of the valve headwork is usually a small rubber washer held in place by a screw. If it is flattened, cracked, split or hard, replace it with an identical size. While the valve is out, inspect the valve seating inside the tap body. A damaged or rough seat can stop even a new washer from sealing properly. In that case, the seat may need resurfacing or the tap may need replacing.
Reassemble the tap carefully, without over-tightening. Turn the water back on slowly and test it. If the drip has stopped, check around the handle and beneath the basin for any new seepage.
Monobloc and lever mixer taps
A single lever kitchen or basin mixer normally has a ceramic cartridge inside. The handle screw may be hidden beneath a small red-and-blue indicator cap or at the back of the lever. Once the handle is removed, you may need to take off a cover or retaining nut before lifting out the cartridge.
Cartridges must match the tap exactly. Their diameter, height, fixing points and hot-and-cold orientation can vary between manufacturers. Trying to fit a near match can leave the handle stiff, reverse the hot and cold flow or fail to seal.
Take a clear photograph before removing the cartridge, then compare the old unit closely with the replacement. Clean away visible limescale from the tap body with a cloth, fit the new cartridge in the same orientation and reassemble. Avoid using excessive force on chrome fittings, as they can scratch or crack.
Drips around the handle or base
If water leaks around the handle only while the tap is on, the issue may be an O-ring or gland seal rather than the washer or cartridge. These seals can wear down, especially on taps used frequently in family kitchens, rented homes and commercial washrooms.
A leak at the base of a swivel kitchen spout can also be caused by worn O-rings. Replacing them is possible on many taps, but access varies. If the tap is old, heavily scaled or difficult to dismantle, a replacement tap may offer better value than repeated repairs.
Common mistakes that make the job harder
The most common mistake is starting work without fully isolating the water. Even a small amount of pressure can quickly flood a cupboard when a valve is removed. Another is buying a replacement part based only on appearance. A washer that is slightly too small, or a cartridge that almost fits, rarely provides a lasting repair.
It is also tempting to tighten every nut as much as possible. This can damage threads, crack a cartridge or distort a washer. Fittings should be firm and secure, not forced. Use a cloth between the spanner and visible chrome to avoid marking the finish.
Finally, do not overlook the condition of the flexible tap tails and valves below the sink. Moving old pipework while repairing a tap can disturb a weak joint. Once the water is restored, dry the area with kitchen roll and check again after a few minutes for even the smallest signs of moisture.
When a professional repair is the sensible choice
A straightforward washer change is often manageable for a confident homeowner, but it depends on the tap and its condition. Call a plumber if the tap will not isolate, the valve is seized, the cartridge is difficult to identify, the leak is coming from pipework, or the tap has damaged the worktop, cabinet or wall behind it.
Professional help is particularly worthwhile where a leak affects an occupied rental property or trading premises. A quick, tidy repair can prevent tenant complaints, interrupted service, damage to stock or a more expensive repair later. If the tap is beyond repair, a plumber can advise whether replacing the whole unit is the most reliable option and make sure the new tap is fitted securely.
A dripping tap rarely improves by itself. Deal with it while it is still a small job, and you protect your water use, fittings and the space around them. For reliable tap repairs across Hull and the surrounding East Yorkshire area, contact HJZ Plumbing on 01482 236483 or through www.hjzplumbing.com.